How To Get Rid Of Your Old Fence In St. Louis, MO
Clean Up And Clean Out
As a homeowner in St. Louis, Missouri, maintaining your property’s appearance and functionality is paramount. Whether you’re upgrading your outdoor space or preparing for a landscaping overhaul, removing an old fence is often a necessary step in the process. However, tackling this task requires careful planning, the right tools, and adherence to safety protocols. In this comprehensive guide, we’ll walk you through the steps to properly dispose of your old fence, ensuring a smooth and efficient process.

Answering The Question: How To Get Rid Of Your Old Fence In St. Louis, MO
Gather your tools and safety gear
Before you embark on the fence removal journey, it’s essential to arm yourself with the proper tools and safety equipment. Protecting yourself from potential hazards is paramount, so don’t skip this step. Equip yourself with safety goggles to shield your eyes from flying debris, sturdy work gloves to prevent splinters and cuts, and reliable work boots for stability and traction. Additionally, gather demolition tools such as a crowbar, hammer, screwdriver, and pliers. Depending on the size and complexity of your fence, you may also need a circular saw or reciprocating saw for cutting through tough support posts.
Inspect the fence
Before diving into the removal process, take some time to thoroughly inspect your old fence. This step is crucial for assessing the condition of the fence and identifying any potential challenges you may encounter during removal. Carefully examine the entire length of the fence, paying close attention to areas of rot, decay, or damage. Mark these weak or compromised sections for special attention during the removal process. Additionally, take note of the type of fasteners used to secure the fence components, whether nails or screws, as this will impact your approach to dismantling.
If your fence is adorned with vegetation such as ivy or vines, consider trimming or removing it before starting the removal process. This will make the dismantling process more accessible and less messy, allowing you to focus on the task at hand without distractions.
Remove any attachments
With the inspection complete, it’s time to start removing any attachments or accessories that are connected to the fence. Begin by focusing on gate doors, if present, using a screwdriver or drill to remove screws or bolts securing them in place. Be sure to keep these hardware components if they are still in good condition, as they may be reused on your new fence or donated to others in need.
Next, turn your attention to any decorative elements attached to the fence, such as planters, signs, or trellises. Carefully detach these items using appropriate tools, taking care to avoid damaging them if you plan to reuse or repurpose them in the future. Finally, inspect the fence for any additional hardware, such as hinges, latches, or locks, and remove these components as well, setting them aside for reuse or donation if they’re still functional.
Begin dismantling
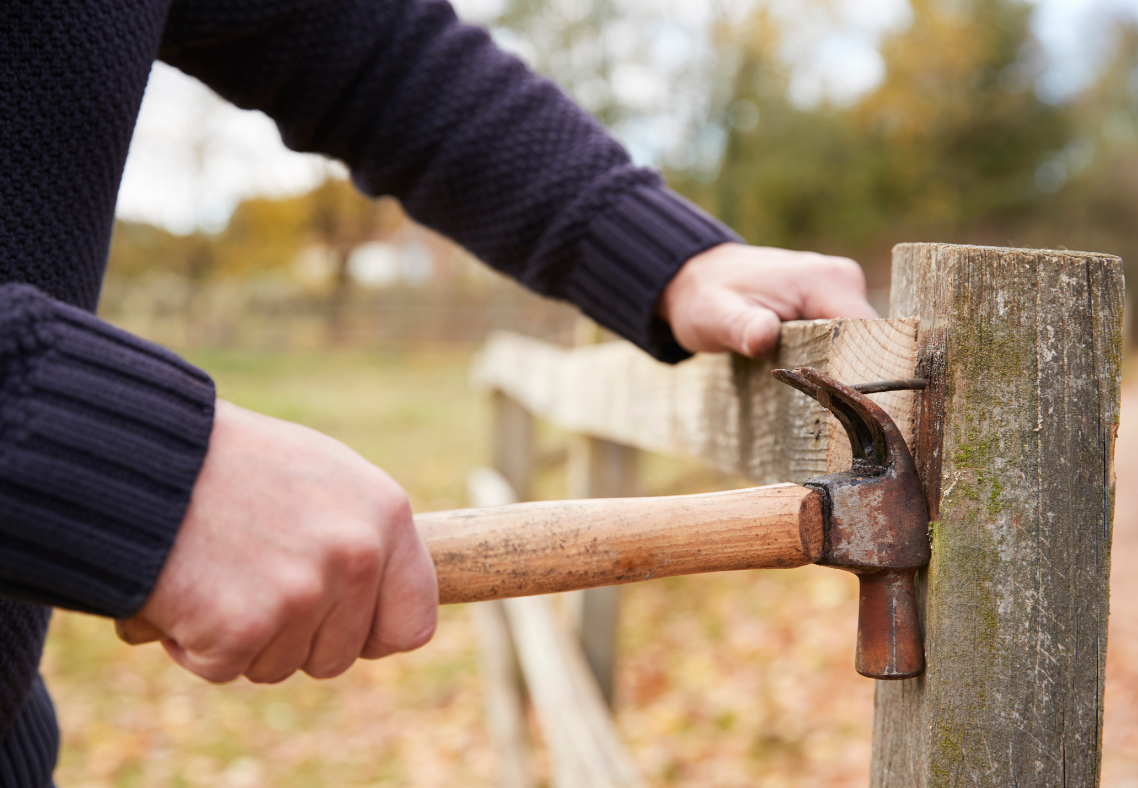
With attachments removed, it’s time to start the dismantling process in earnest. Begin at one end of the fence and work your way methodically along its length, systematically removing each section. Use a crowbar or pry bar to gently separate boards or panels from support posts, leveraging the bar’s force to ease the boards away from the posts. Be cautious of nails or screws as you work, taking care to avoid injury or damage to the surrounding area.
If necessary, tap the pry bar gently with a hammer to help loosen stubborn sections, especially if the fence has been in place for an extended period and the wood has partially adhered to the posts. As you remove each section, stack the boards neatly to the side, taking care to handle them with caution, particularly if the wood is old or brittle. For support posts, use a saw appropriate for the material—wood, metal, or concrete—to cut them down at ground level, making the removal process more manageable.
Clean up the debris
Once the fence materials and support posts have been successfully removed, it’s essential to thoroughly clean up the work area. This step not only ensures a safe environment but also contributes to overall tidiness and organization. Begin by gathering all debris, including nails, screws, and loose wood, onto a tarpaulin or drop cloth for easy bundling and disposal. Use ropes or twine to securely bundle the materials, preventing them from scattering during transport.
Conduct a final check of the work area to remove any stray nails, screws, or other sharp objects that could pose a safety risk to people or pets. Dispose of the bundled materials according to local regulations, prioritizing recycling or reuse options whenever possible. If recycling or reuse facilities are not available in your area, you may need to transport the materials to a designated disposal site or landfill for proper disposal.
Contact Clean Up And Clean Out Today For Junk Removal Services In St. Louis, Missouri
If the prospect of removing an old fence from your property feels daunting, don’t fret—Clean Up And Clean Out is here to help. As a trusted provider of junk removal services in St. Louis, Missouri, we specialize in the removal and disposal of bulky items, including old fences. Our experienced team is equipped with the tools, knowledge, and expertise to handle the job safely and efficiently, allowing you to reclaim your outdoor space without the hassle. Contact us today to schedule your junk removal service and bid farewell to your old fence with ease and convenience.
